Striding Edge – a photo diary of Lake District fell walks
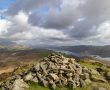
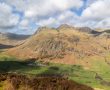
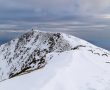
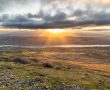
Striding Edge is the photo diary of Sean McMahon’s fell walks, capturing the beauty and moods of the wonderful Cumbrian landscape. The site contains details of the Lake District’s 214 Wainwright fells and 541 Birkett fells as well as walking routes and guides.
There are regularly updated photos and maps of walks with distances, timings, ascents and route descriptions. Each Wainwright and Birkett Lake District fell has its own information page which includes height details, fell grouping, accurate GPS co-ordinates and a summit photo.
All walks described are provided in good faith, the maps and routes described here are not an indication of right of way, but an indication of general direction only. Any walk undertaken is done so at your own risk. Enjoy the spectacular views!
Walking Diary 2024