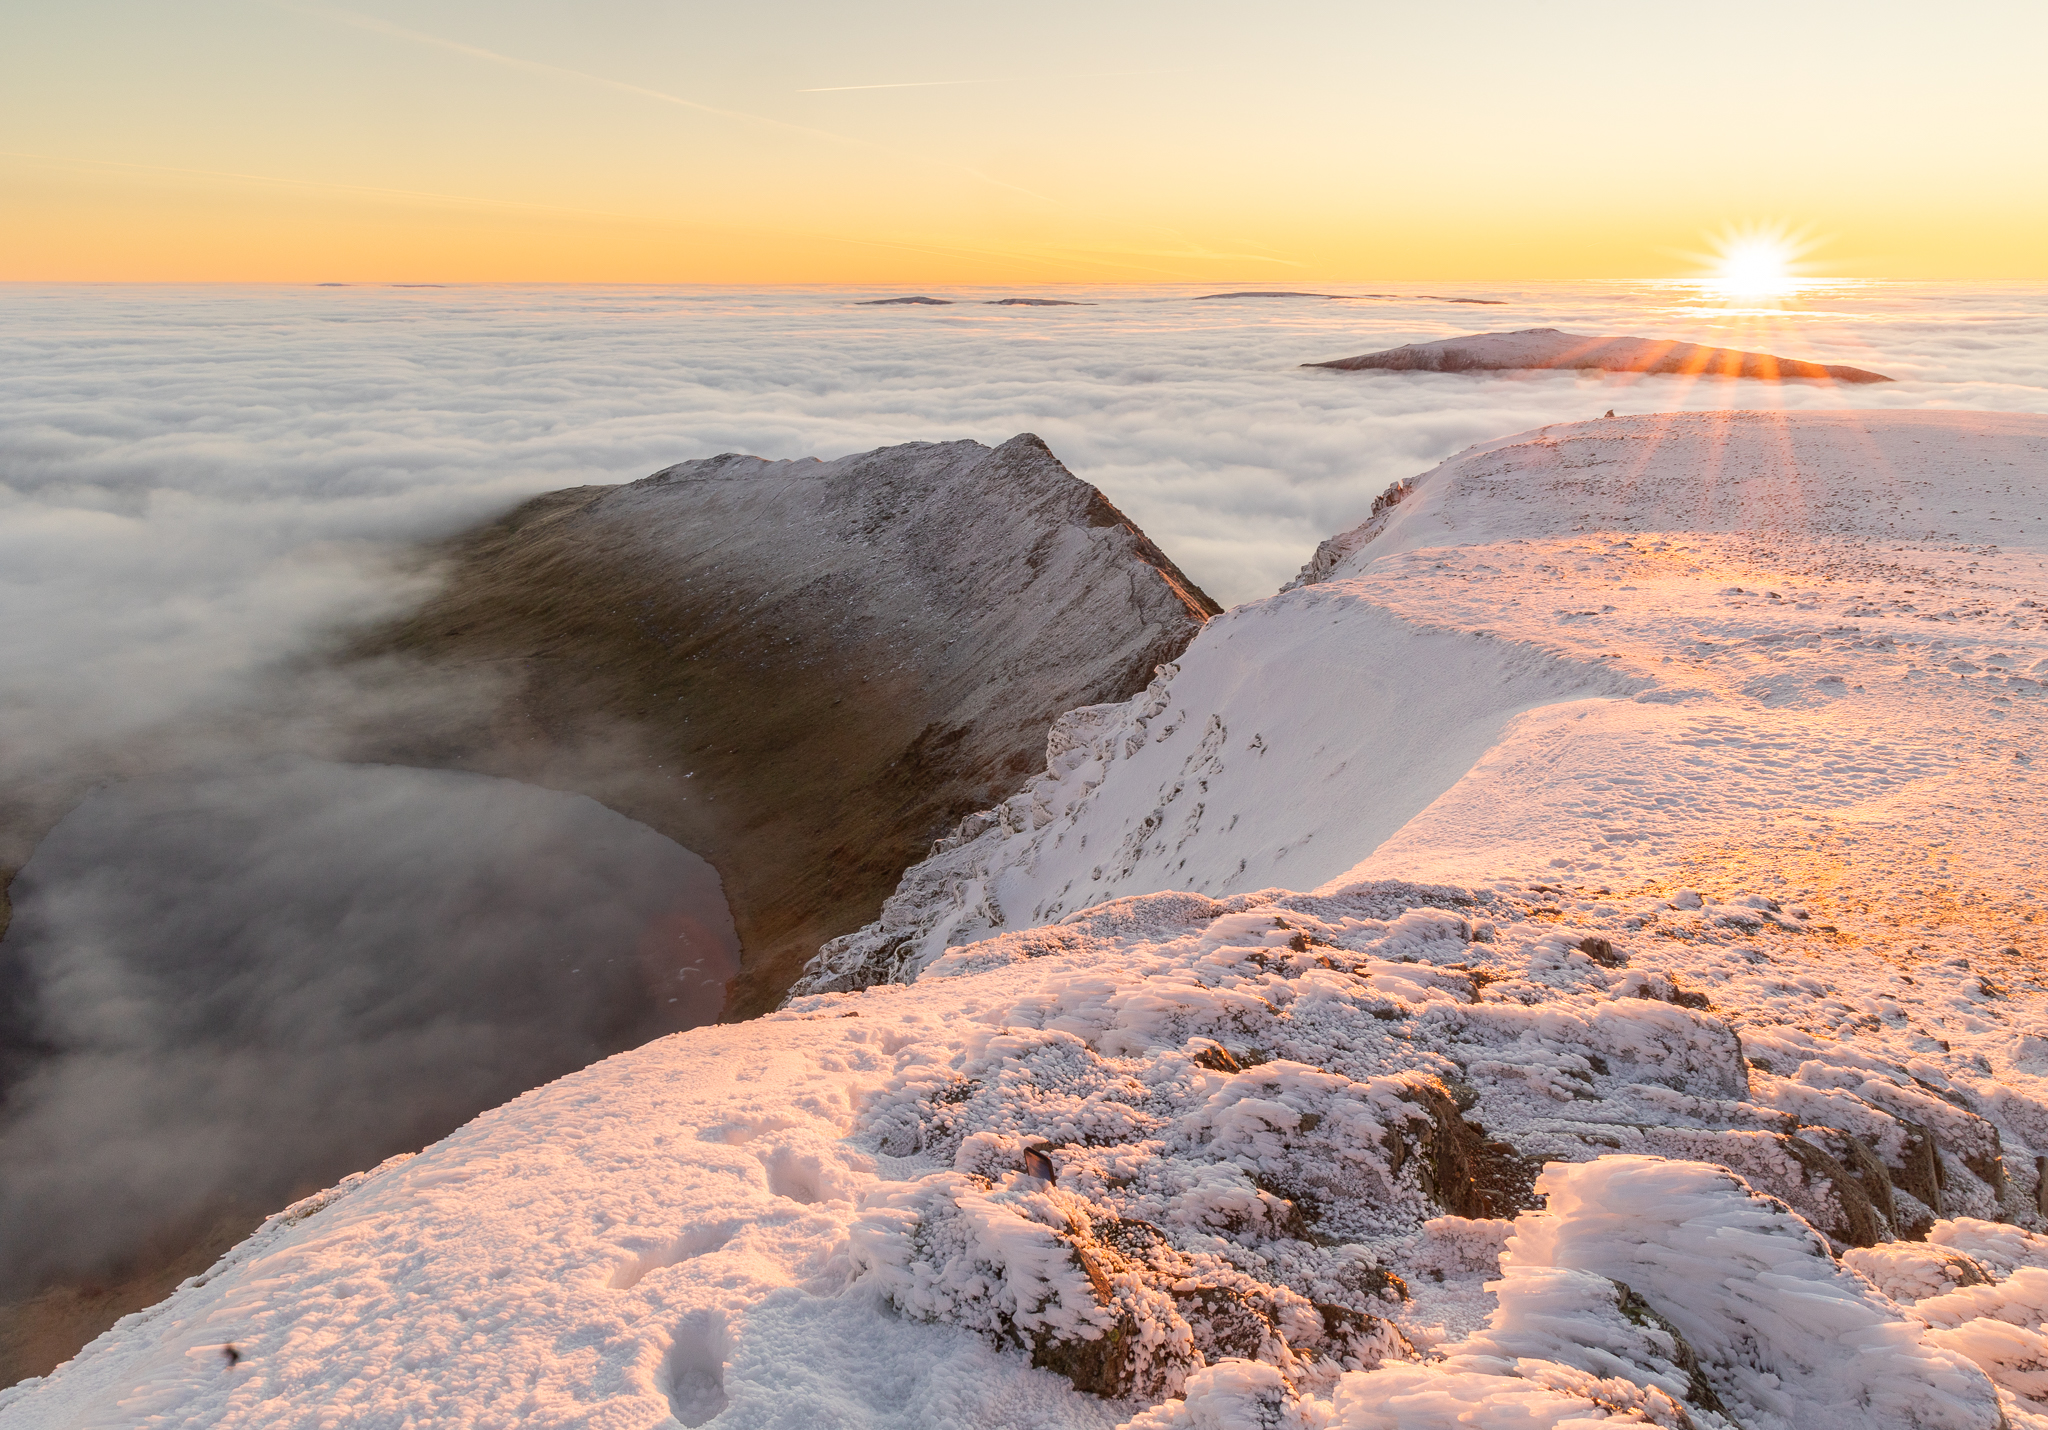
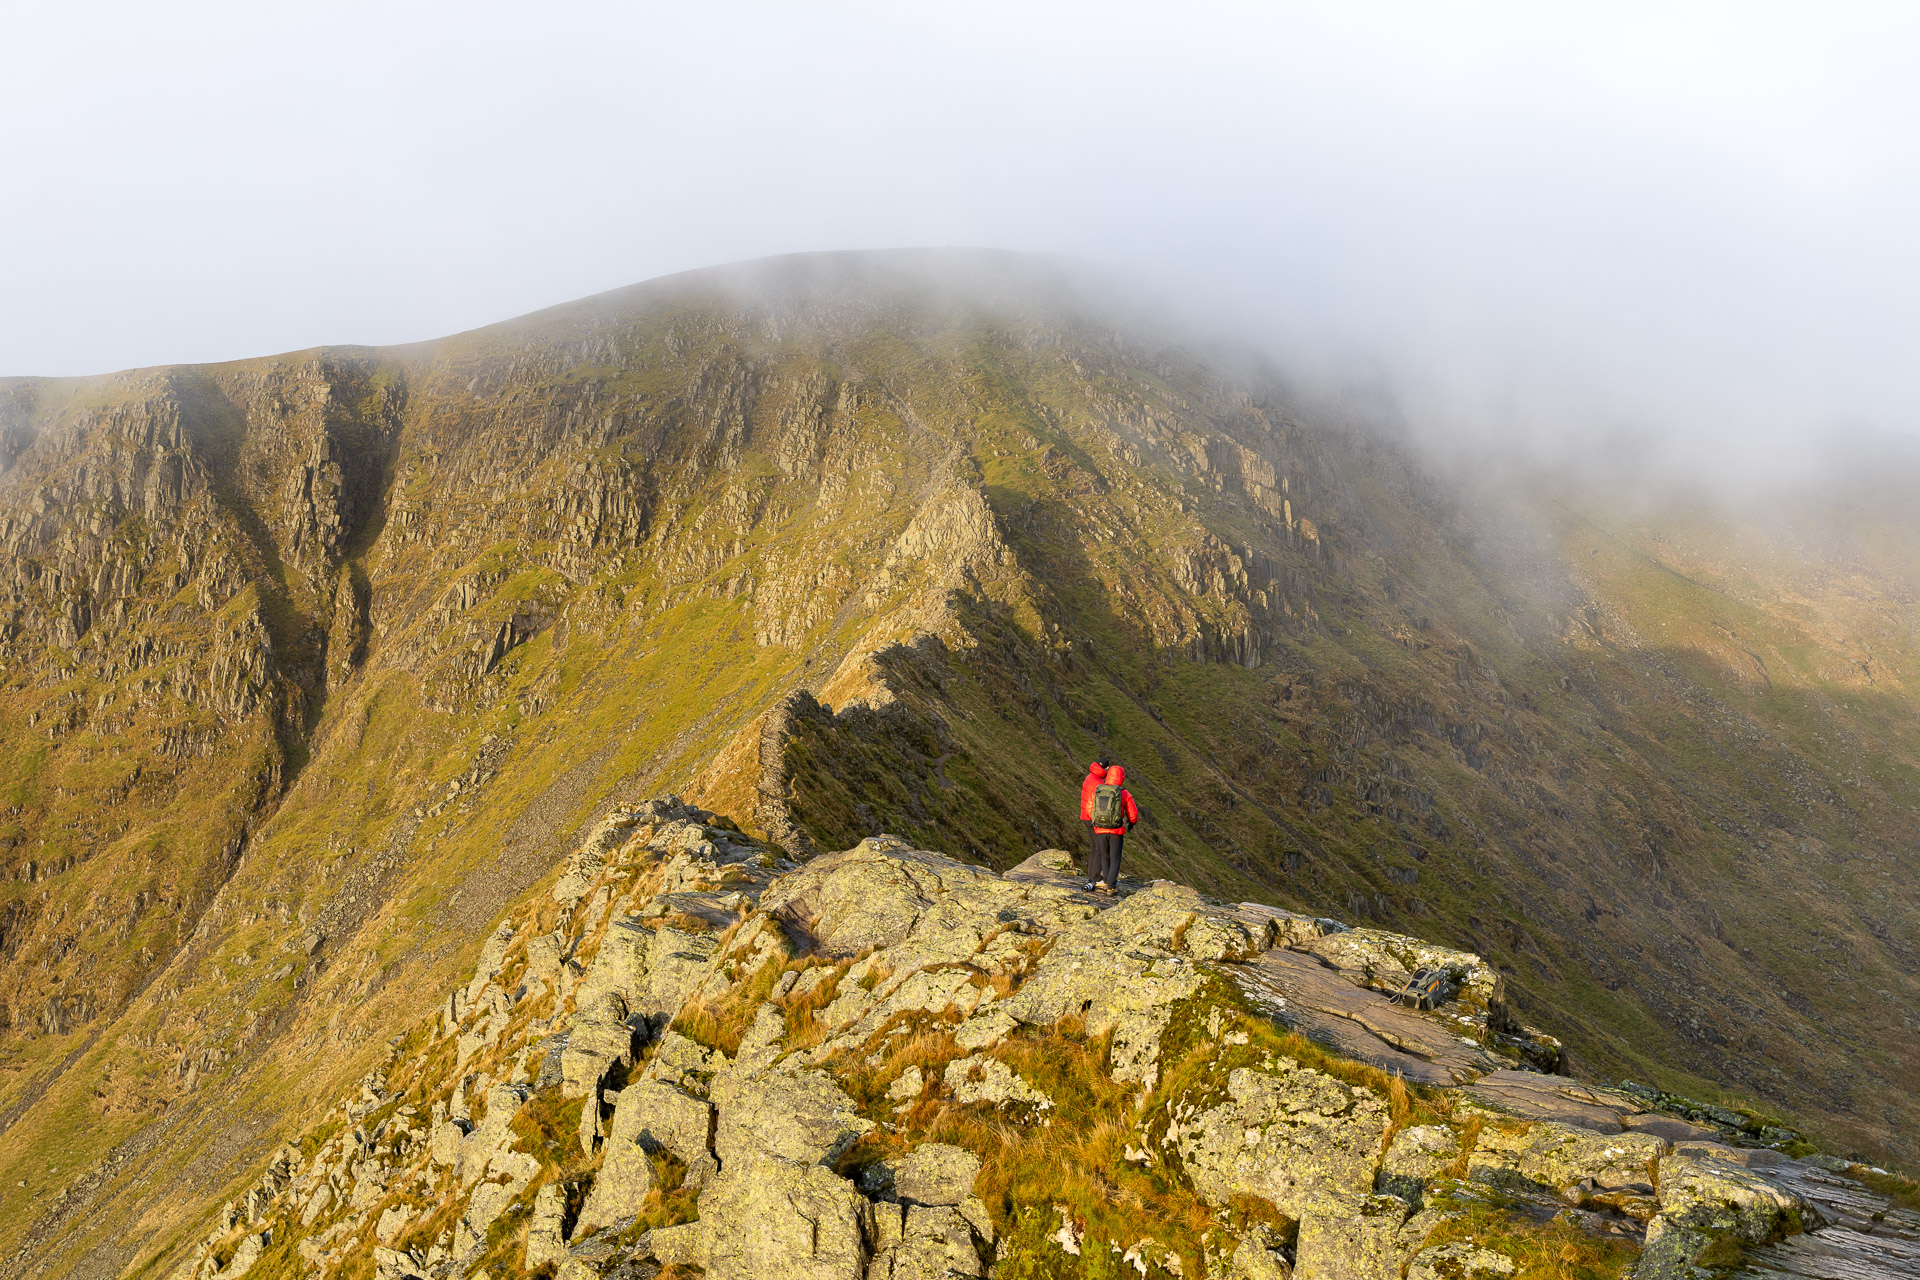
Striding Edge is the famous rocky ridge leading to Helvellyn from the east, forming one of the best-known mountain routes in the Lake District.
Approached most commonly from Patterdale or Glenridding, the route reaches the ridge via the Hole-in-the-Wall before crossing the narrow arête towards Helvellyn. In good, calm conditions it is a classic Grade 1 scramble: technically straightforward for experienced hillwalkers, but with considerable exposure and places where a slip could have serious consequences.
Striding Edge at a glance
GRADE
Grade 1 scramble
RIDGE HIGH POINT
High Spying How
863m
USUAL APPROACH
Patterdale or Glenridding
CHARACTER
Rocky, narrow and exposed
DISTANCE / ASCENT
Approx. 2km
260m ascent
Before you cross Striding Edge
Striding Edge is exposed mountain terrain rather than an ordinary walking path. In dry, calm conditions the scrambling is technically straightforward for an experienced and confident hillwalker, but there are steep drops, hands-on sections and places where a slip could have serious consequences.
Wind, rain, ice, snow, poor visibility and darkness can change the seriousness of the ridge very quickly. Anyone attempting Striding Edge should be properly equipped, able to navigate independently and comfortable on exposed rocky ground. If the conditions – or your confidence – deteriorate, turning back is the right decision.
- Check the mountain forecast before setting out and be prepared to change your plans.
- Carry a physical map and compass and know how to use them; do not rely solely on a phone or GPS device.
- Winter conditions require appropriate winter mountaineering skills and equipment.
StridingEdge.net records personal walking experiences and provides route information for general guidance only. You are responsible for your own route choice, judgement and safety. Any route is undertaken at your own risk.
Crossing Striding Edge
The classic traverse runs east to west, from the Hole-in-the-Wall towards Helvellyn. The character changes gradually: a broad rocky approach leads to High Spying How, then the ridge narrows into the exposed arête before the awkward down-climb at the Helvellyn end and the final scramble to the summit plateau.
1. Hole-in-the-Wall to High Spying How
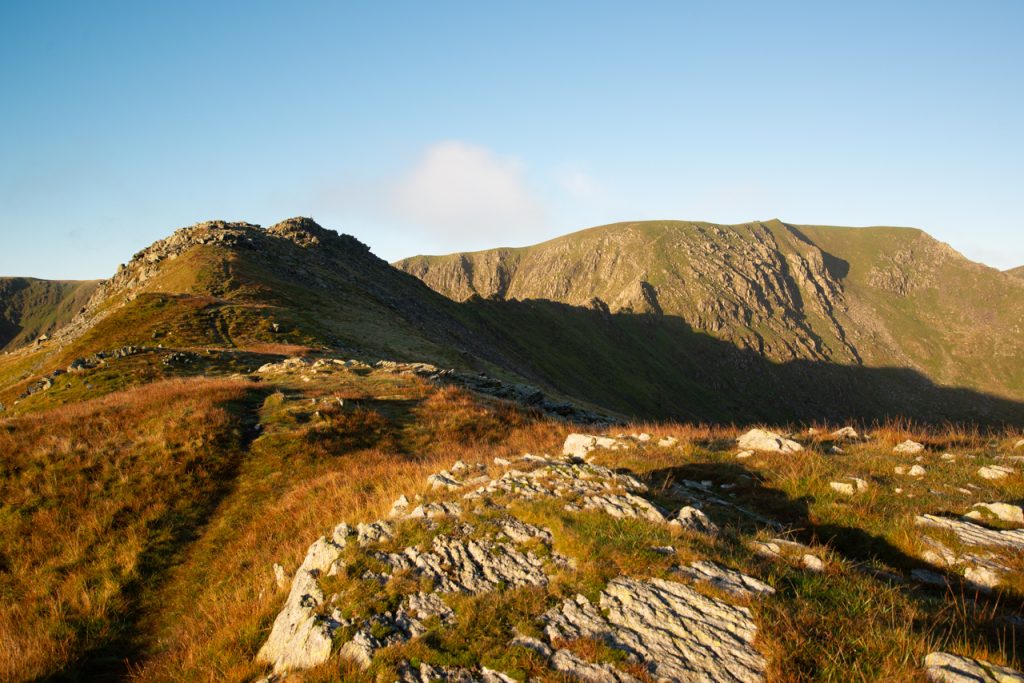
From Patterdale or Glenridding, the usual approaches meet at the Hole-in-the-Wall, at around 700m. Beyond here the route becomes progressively rockier as it climbs towards Striding Edge.
At first the ground is broad and there is little sense of the exposure to come. As height is gained, the ridge begins to reveal itself ahead, with Red Tarn below to the north and the steep crags of Nethermost Cove falling away on the opposite side.
The approach culminates at High Spying How, around 863m, where Striding Edge reaches its highest point and the character changes noticeably. From here the crest narrows and the true traverse begins.
2. The ridge crest
From High Spying How the character of Striding Edge changes quickly. The broad approach gives way to the narrow rocky crest that gives the ridge its reputation, with steep ground falling away towards Red Tarn on one side and Nethermost Cove on the other.
The most direct and exhilarating route follows the crest itself. The scrambling is generally straightforward in good conditions, but the exposure is considerable and there are sections where using your hands feels far more natural than trying to remain upright.
Paths also run below parts of the crest, particularly on the Red Tarn side. These avoid some of the hands-on scrambling, but they remain steep and exposed mountain paths rather than a completely safe alternative.
Crest or lower path?

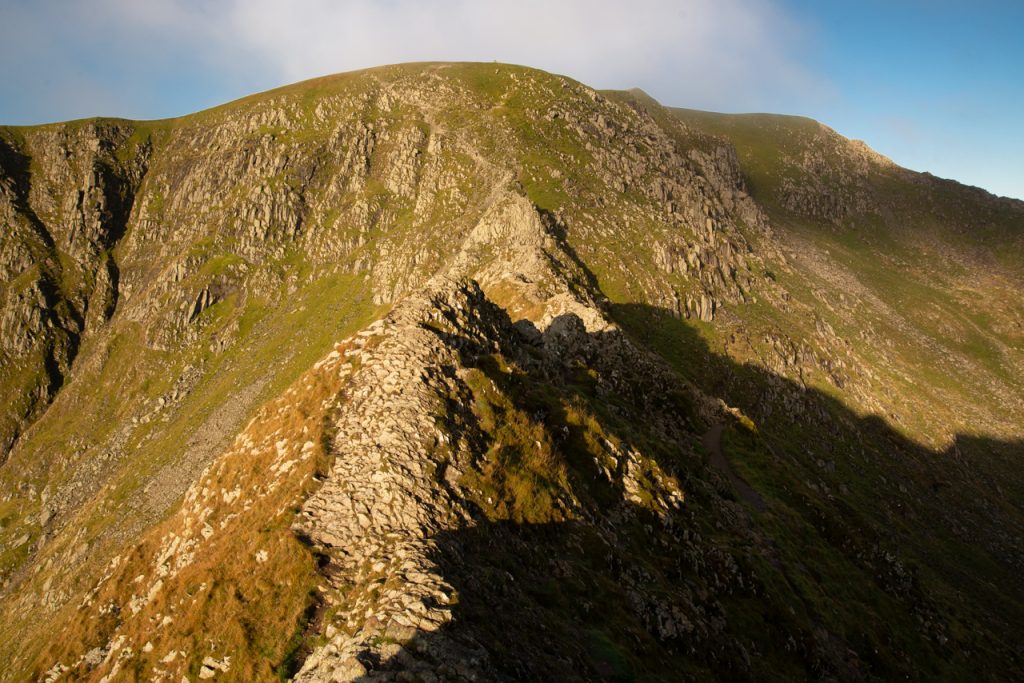
The classic line follows the rocky crest of Striding Edge, rising and falling over the arête and giving the full sense of exposure for which the ridge is famous.
A lower path runs beneath sections of the crest, mainly on the Red Tarn side. It avoids some of the hands-on scrambling and the most exposed positions on the skyline, but it is still a steep, rough mountain path with significant drops below. It should not be regarded as an easy escape route or a completely safe alternative to the crest.
3. The Chimney – the Bad Step
Towards the Helvellyn end of Striding Edge the crest finishes abruptly at the Chimney, also commonly known as the Bad Step. For walkers making the usual east to west traverse towards Helvellyn, this involves an awkward downclimb of around seven metres and is generally regarded as the most technically difficult part of Striding Edge.
The difficulty is not so much the climbing itself as there are useful hand and foot holds, but the combination of climbing downwards, exposure and not being able to see your feet clearly beneath you. It can look considerably more intimidating from above than it feels once you are actually on the rock.
Take your time here. Face into the rock, establish secure hand and foot holds and do not allow other walkers or a queue behind you to rush your descent. Loose or wet rock, ice and strong winds can make a straightforward move significantly more serious. If you are uncertain, an experienced companion descending first can help identify the footholds below. The BMC specifically recommends testing holds carefully and notes that down climbing tends to feel harder because the exposure is more apparent.
There is a line which avoids the main difficulties on the Red Tarn side. It can remove the hardest part of the direct descent, but it still crosses exposed, steep mountain ground and should not be regarded as a completely safe escape route.
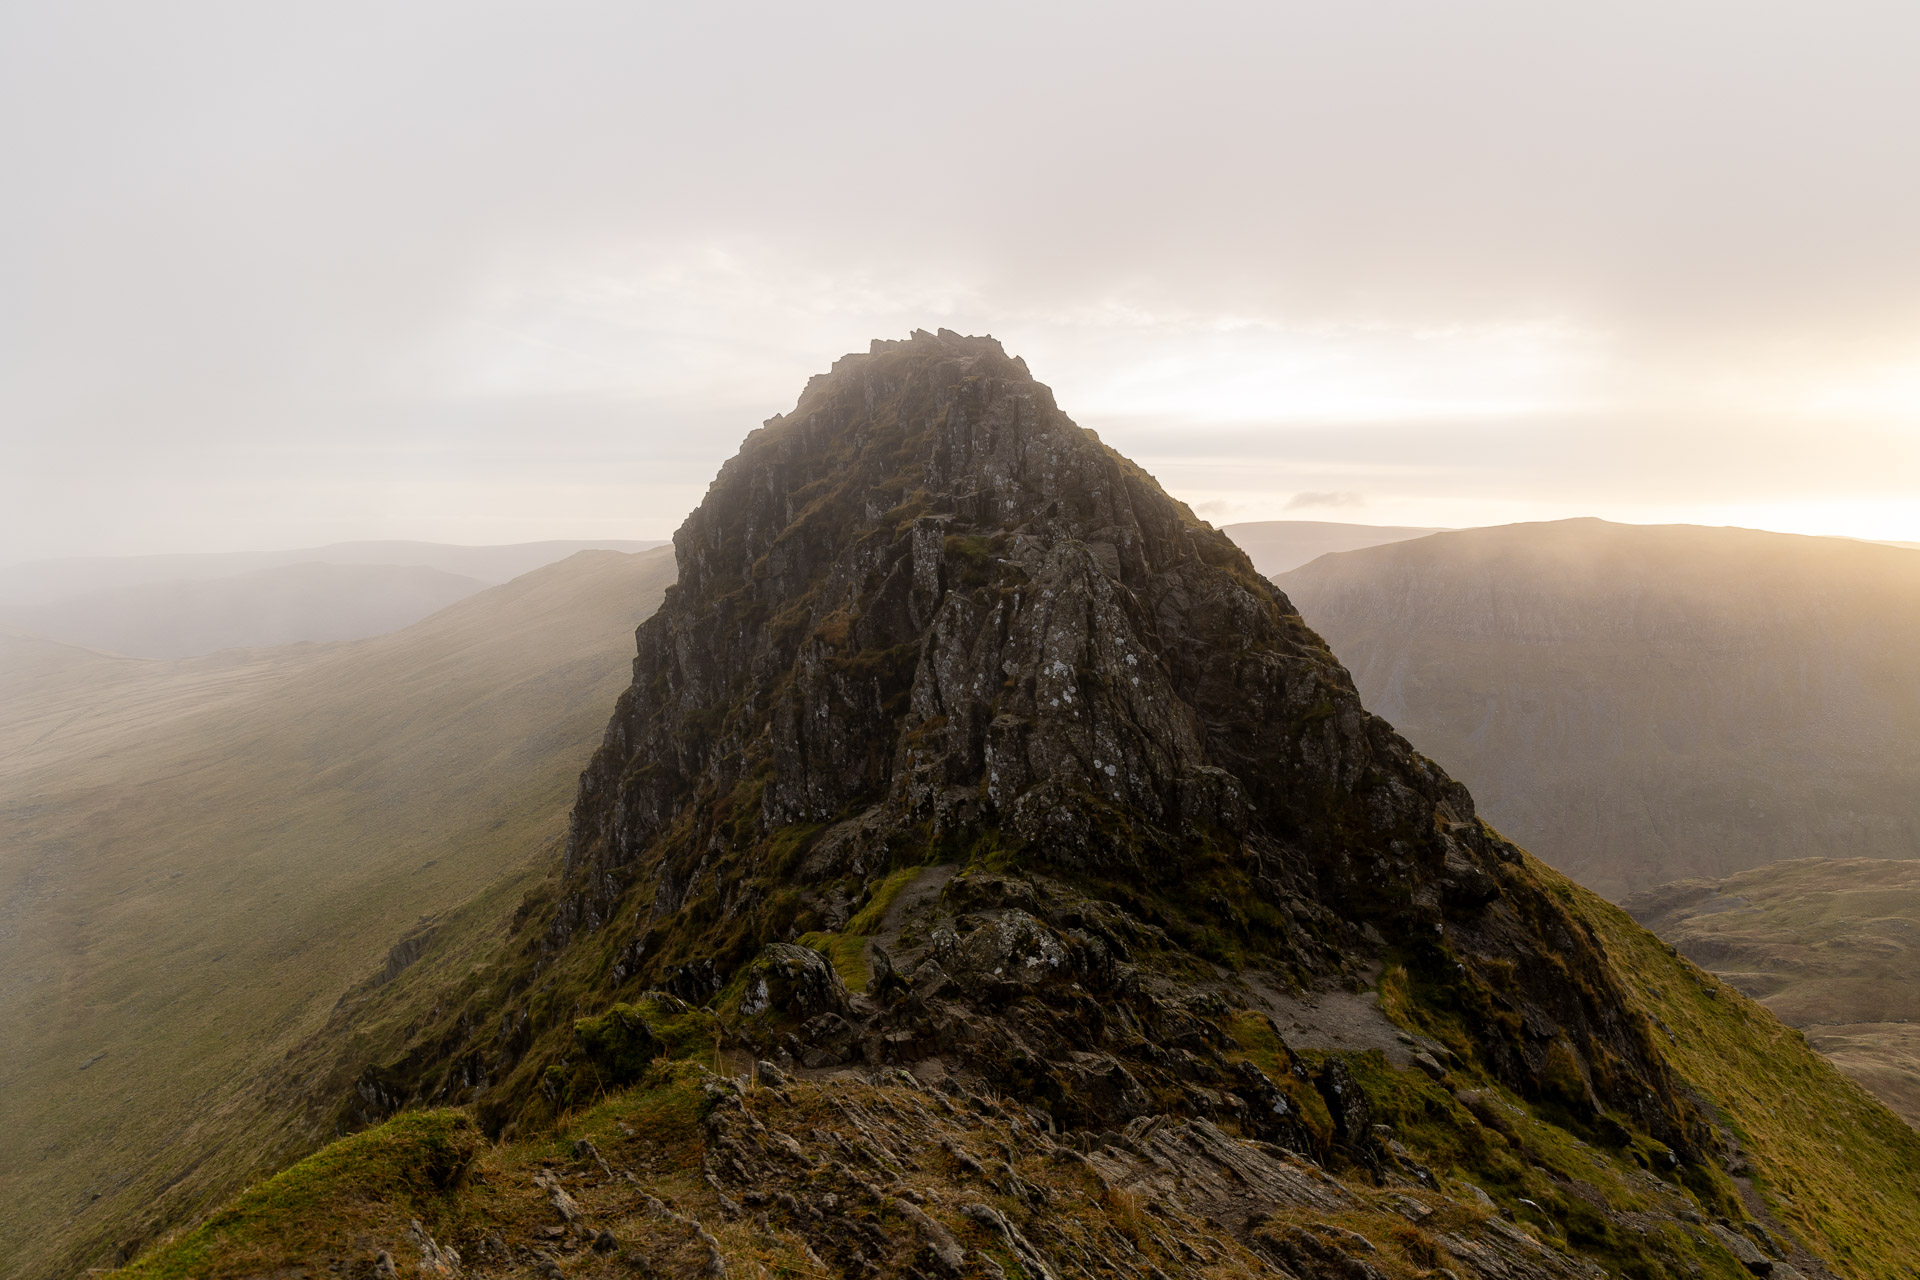
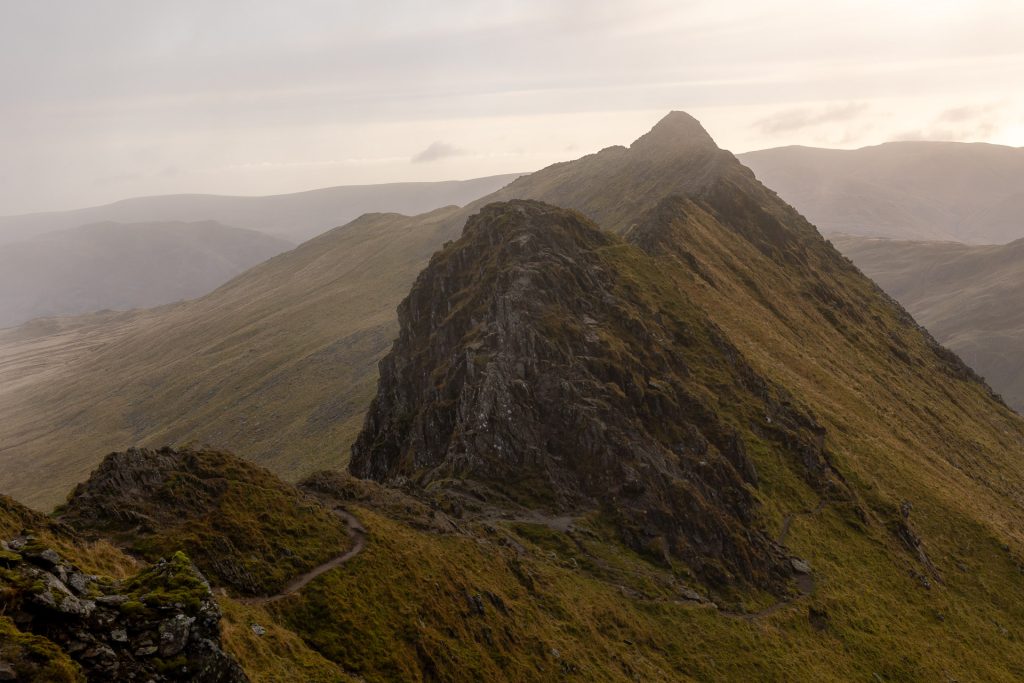
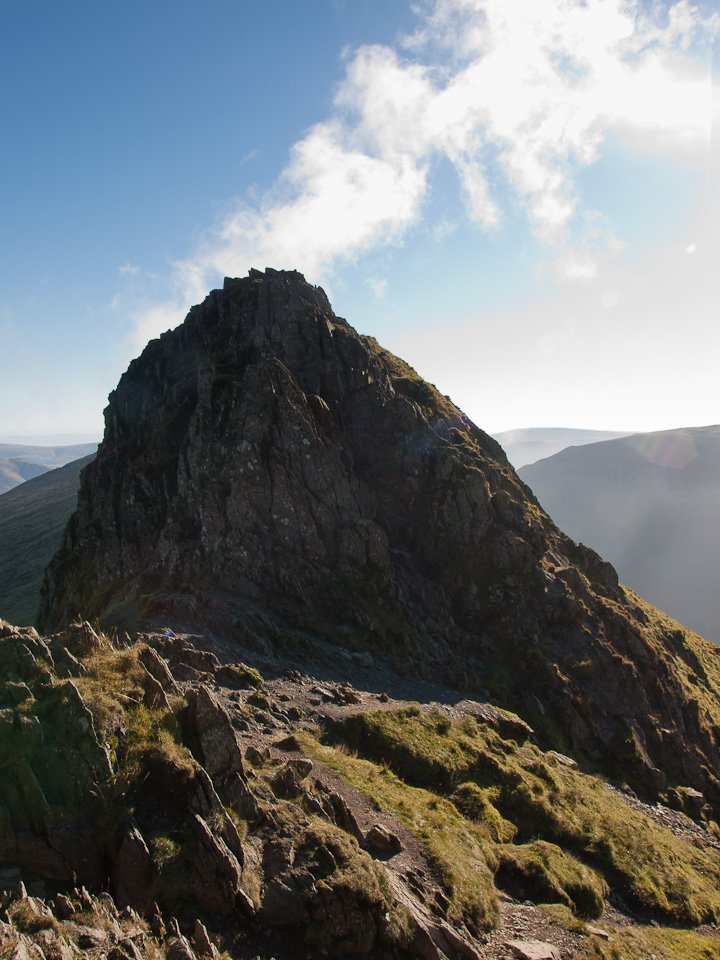
Take particular care at the Bad Step
The Chimney is the most awkward individual section of the usual east-to-west traverse. Serious falls have occurred in this area, particularly when conditions are poor or walkers are rushed or uncertain on how best to climb down. Take your time, face into the rock, use secure hand- and footholds and do not allow people behind you to pressure your descent.
If the rock is wet, icy or affected by strong wind, the difficulty and consequences increase significantly.
4. The final climb to Helvellyn

Once below the Chimney, Striding Edge itself is effectively behind you, but there is still a final rocky ascent before reaching the broad summit plateau of Helvellyn.
From below, this headwall can look more formidable than it really is. The usual line climbs directly up the broken rock, with some straightforward hands-on scrambling. Trying to avoid the rock altogether can lead onto looser and less pleasant ground, so the most obvious rocky line is generally the better way.
As height is gained, the views back become increasingly impressive. The whole length of Striding Edge comes into view, with Red Tarn below, Catstycam beyond and Swirral Edge enclosing the northern side of the corrie.
The contrast on reaching Helvellyn is striking: after the narrow confines of the ridge, you suddenly emerge onto a broad summit plateau at 950m, with the summit shelter and cairn only a short distance away.

5. Which way should you cross Striding Edge?
East to west, towards Helvellyn, is the traditional and most commonly used direction. It gives a natural progression from the Hole-in-the-Wall, over High Spying How and along the crest before finishing with the Chimney and the climb onto Helvellyn.
Striding Edge can also be crossed in the opposite direction. Some walkers find climbing up the Chimney easier than descending it, but travelling away from Helvellyn means meeting the majority of walkers coming towards you on what can be a narrow and busy ridge.
For a first crossing, the usual Hole-in-the-Wall to Striding Edge to Helvellyn direction is the one described throughout this page.
6. Getting to Striding Edge
Routes to Striding Edge
From Patterdale:
Patterdale gives one of the most direct and satisfying approaches. The route steadily climbs above Grisedale towards the Hole-in-the-Wall, where the Striding Edge route begins.
From here the ridge is crossed westwards to Helvellyn, with various options for the return — including Swirral Edge, Catstycam and Birkhouse Moor or a descent taking in Nethermost Pike and Dollywaggon Pike and returning via Grisedale.
From Glenridding:
Glenridding provides the other classic approach. The usual route climbs over Birkhouse Moor before heading to the Hole-in-the-Wall and joining the same eastern approach to Striding Edge.
A popular circuit continues over Helvellyn and returns via Swirral Edge and Catstycam, creating the classic round of Red Tarn.
Helvellyn from Glenridding via Striding Edge
Striding Edge in different conditions
Striding Edge can feel very different depending on the weather and season. In dry, clear conditions the route is relatively straightforward for experienced walkers, while wind, cloud, snow and ice can transform the ridge into a much more serious undertaking.